

Description
What our Understanding an Equal Sign lesson plan includes
Lesson Objectives and Overview: Understanding an Equal Sign teaches students to understand the meaning of the equal sign and determine if two sides of an equation are the same value using addition and subtraction. Students learn that the equal sign is a symbol that means both sides are the same. At the end of the lesson, students will be able to understand the meaning of the equal sign and determine if two sides of an equation are the same value using addition and subtraction. This lesson is for students in 1st grade, 2nd grade, and 3rd grade.
Classroom Procedure
Every lesson plan provides you with a classroom procedure page that outlines a step-by-step guide to follow. You do not have to follow the guide exactly. The guide helps you organize the lesson and details when to hand out worksheets. It also lists information in the blue box that you might find useful. You will find the lesson objectives, state standards, and number of class sessions the lesson should take to complete in this area. In addition, it describes the supplies you will need as well as what and how you need to prepare beforehand.
Options for Lesson
Included with this lesson is an “Options for Lesson” section that lists a number of suggestions for activities to add to the lesson or substitutions for the ones already in the lesson. One optional addition to this lesson is to have your students use number cubes with values greater than 6. You could also have your students make their own number cubes out of blanks and roll to create equal values. For an additional activity, you could give each of your students a card with an expression on it, call out various answers, and have students stand up when their equal value is called. Finally, you could write two expressions that are equal on cards and hand them out to your students; have them find the other student with the expression that is equal to theirs.
Teacher Notes
The teacher notes page includes lines that you can use to add your own notes as you’re preparing for this lesson.
UNDERSTANDING AN EQUAL SIGN LESSON PLAN CONTENT PAGES
Understanding an Equal Sign
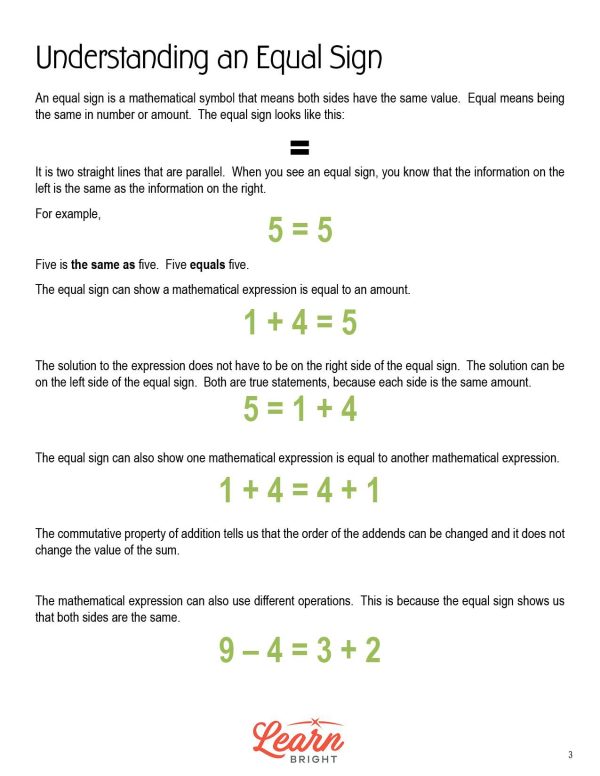
The Understanding an Equal Sign lesson plan includes two content pages. Equal signs are mathematical symbols that mean that both sides of an equation have the same value. The word “equal” means that multiple things are the same in number or amount.
Equal signs look like two parallel straight lines (=). If you see an equal sign, you know that the information on the left side and the information on the right side are the same. For example, 5 = 5. five is the same as five. Five equals five!
Equal signs also show that mathematical expressions are equal to a specific amount. For example, 1 + 4 = 5.
Note that the solution to an expression does not always have to be on the right side of the equal sign, though that’s most common. You can also have the solution on the left side of the equal sign. Both statements are true, because both sides are still the same amount. For example, 5 = 1 + 4.
Equal signs also show that two mathematical expressions are equal. For example, 1 + 4 = 4 + 1.
You can change the order of the addends without changing the value of the sum. This is the commutative property of addition.
The mathematical expressions on either side of an equal sign can use different operations, because the equal sign tells us that both sides are the same. For example, 9 -4 = 3 + 2. Nine minus four is five and three plus two is five. Five is equal to five, so these two expressions have the same value and are equal to one another.
How do you decide if an equation is true or false? If both sides are equal (have the same value), the equation is true. Let’s take a look at a few true equations: 9 = 9, 6 = 5 + 1, and 10 + 4 = 8 + 6. The equation 10 + 4 = 8 + 6 is true because 10 + 4 = 14 and 8 + 6 = 14. Therefore, 10 + 4 = 8 + 6.
If both sides are not equal (do not have the same value), the equation is false.
Let’s take a look at a few false equations: 0 = 2, 6 = 3 + 9, and 3 + 5 = 7 + 2. The equation 3 + 5 = 7 + 2 is false because 3 + 5 = 8 and 7 + 2 = 9. The values of 8 and 9 are not the same, so the two sides are not equal.
Always remember that the equal sign tells you that both sides are the same amount. You can find the solution to a problem on either the left or right side of the equal sign—both ways are correct!
The equal sign is one of the most important symbols in math!
UNDERSTANDING AN EQUAL SIGN LESSON PLAN WORKSHEETS
The Understanding an Equal Sign lesson plan includes four worksheets: an activity worksheet, a practice worksheet, a homework assignment, and a quiz. You can refer to the guide on the classroom procedure page to determine when to hand out each worksheet.
NUMBER CUBE ACTIVITY WORKSHEET
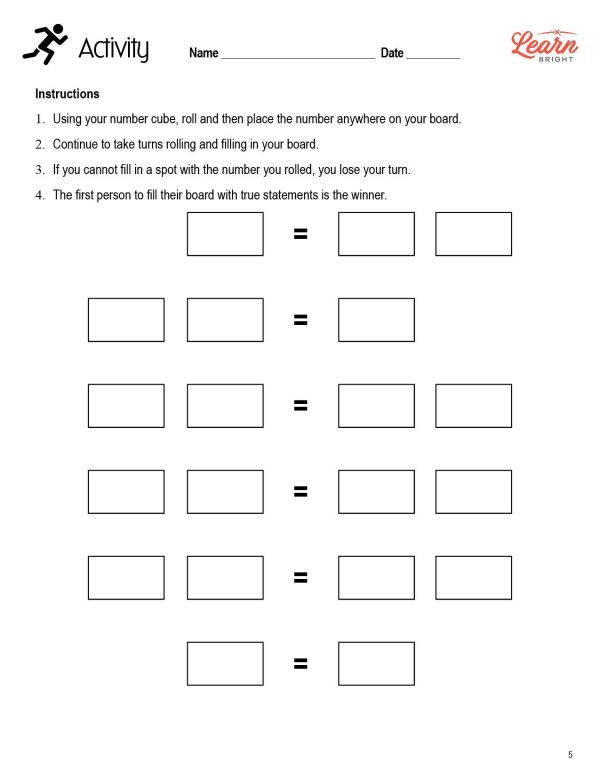
Students will race each other to finish the lesson activity. For the activity, each student will roll a number cube and place the number they get anywhere on their board. The goal of the game is to fill up the entire board with true statements. If they cannot fill a remaining spot with the number rolled, they lose their turn. The first student to fill their board with true statements wins!
TRUE OR FALSE PRACTICE WORKSHEET
For the practice worksheet, students will first determine whether or not equations are true or false. Next, they will write two true equations and two false equations. Finally, they will write down what the symbol ‘=’ means.
TEN FRAME HOMEWORK ASSIGNMENT
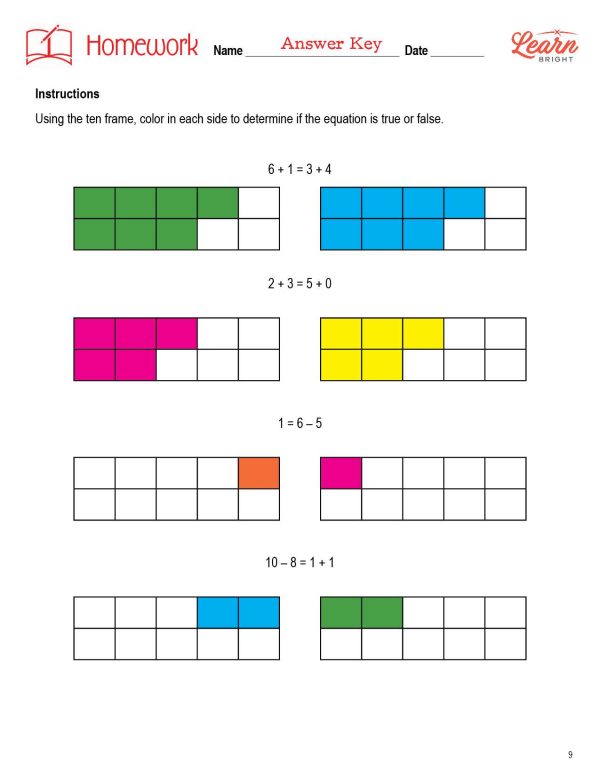
The homework assignment asks students to color in each side of the ten frames shown on the worksheet to determine if each equation listed is true or false.
QUIZ
This lesson also includes a quiz that you can use to test students’ understanding of the lesson material. For the quiz, students will first determine whether or not equations are true or false. Then, they will draw a picture of an equal sign.
Worksheet Answer Keys
This lesson plan includes answer keys for the practice worksheet, the homework assignment, and the quiz. If you choose to administer the lesson pages to your students via PDF, you will need to save a new file that omits these pages. Otherwise, you can simply print out the applicable pages and keep these as reference for yourself when grading assignments.