


Description
What our Using Multimedia in Presentations lesson plan includes
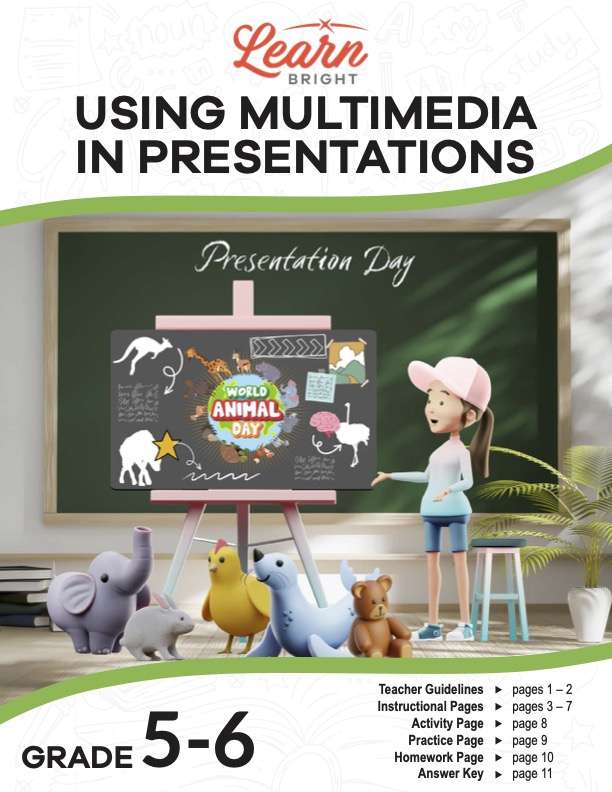
Lesson Objectives and Overview: Using Multimedia in Presentations teaches students how to incorporate different types of media into a single presentation. They will learn how to tailor a presentation to their audience. They will also discover the importance of preparation when it comes to presenting in front of an audience. This lesson is for students in 5th grade and 6th grade.
Classroom Procedure
Every lesson plan provides you with a classroom procedure page that outlines a step-by-step guide to follow. You do not have to follow the guide exactly. The guide helps you organize the lesson and details when to hand out worksheets. It also lists information in the yellow box that you might find useful. You will find the lesson objectives, state standards, and number of class sessions the lesson should take to complete in this area. In addition, it describes the supplies you will need as well as what and how you need to prepare beforehand. For this lesson, you need laptop or desktop computers, sound or audio equipment (or phones), projector, e-board (if available), and tri-fold or poster boards (if e-board and projector are unavailable).
Options for Lesson
The “Options for Lesson” section of the classroom procedure page outlines some additional activities and variations that you can use when presenting this lesson to your students. Making presentations is an essential skill in the modern world. There are several ways to accomplish practicing presentation skills. One fun way is for your students to create a presentation and present it to the class on Zoom, Google Meet, or Microsoft Teams. Students can make the presentation to the class, you can record it, and then the class can critique the production quality using a rubric.
Teacher Notes
The paragraph on this page gives you a little more information on the lesson overall and describes what you may want to focus your teaching on. It emphasizes the idea that many students thing they can “wing it” without preparation. The blank lines are available for you to write out any thoughts or ideas you have as you prepare.
USING MULTIMEDIA IN PRESENTATIONS LESSON PLAN CONTENT PAGES
What Is Multimedia?
The Using Multimedia in Presentations lesson plan contains five pages of content. The first is a story about a boy named RJ who tries to “wing it” for a presentation. Students will learn throughout the story why it’s important to prepare for these kinds of situations. The remaining pages explain how to create a multimedia presentation in seven steps.
Let’s be honest. Making a presentation in front of a group can be awkward, or scary even! Presentations are not easy, even if you are an expert in the subject matter. RJ found out the hard way that there is more to presenting than telling a couple of jokes and talking about the subject. You have to make a plan. Then to get the audience’s attention, you have to have exciting graphics, videos, audio, or a combination of things. That’s where multimedia comes in.
A multimedia presentation is a presentation that utilizes different types of media to grab the attention of the audience, make key points clear, and (in some cases) entertain the audience. Types of media include text, audio, visuals, and examples. Multimedia presentations engage the audience’s senses to communicate a message. While many use electronic platforms like computers to project the presentation’s content on screens, others may use simple tools like tri-fold boards or brochures. The tri-folds or brochures contain graphic images that grab the audience’s attention and focus them on the message. Sometimes presenters play music in the background. What makes multimedia “multi” is using various media tools simultaneously.
Think of it this way: How interesting is a movie without sound? With all the options available, why wouldn’t anyone use multimedia to make a presentation! What are some things that we can learn from RJ’s bad presentation day?
How to Create a Multimedia Presentation
The first step: Don’t wait until the last minute to start preparing. RJ’s biggest mistake might have been waiting until a couple days before the presentation to start thinking about what he wanted to say. Multimedia presentations take time to create. And don’t assume that because you are an expert in a subject, you are an expert presenter! Expertise and presenting skills are two different things. The first is all about subject knowledge. The second involves communication skills.
Next, frame or outline the key points you want to make. This means knowing your audience and creating your presentation on the audience’s interest, not yours. There is a cliché that describes what this means. The audience doesn’t need to know how to build a clock if they want to know what time it is! Not every detail is necessary.
Then, once you have a general outline, create a storyboard. A presentation is essentially like telling the story of something. Each piece of the story is revealed differently using different modes of communication. A storyboard helps you see what the audience will see and decide what the audience will hear. Below is an example of a storyboard. In each box, sketch what you want your audience to see. Underneath each box, write something that you want your audience to hear.
Steps 4 and 5
What media work best with your storyboard? Next to each box, consider the media you want to use to communicate with your audience. Maybe it’s a slideshow or video. Do you like music to play with the slides? Is a digital format better than a tri-board? Or will handouts like brochures plus a video about your subject work better? These decisions guide how you make your presentation. And the storyboard helps you determine if the place you are presenting at has projectors or computer access.
You might be surprised to learn that even professionals sometimes don’t check out the venue for the presentation and realize too late that their equipment is incompatible with the venue! RJ should have known what the audience and his teacher expected before he arrived at school.
Next is the fifth step. You have a storyboard, you have chosen your media, and now you should write the presentation. Some people mistakenly think they can look at a slide and talk through it without thinking about what they want to communicate. Having written note cards or a script is necessary if you are going to give a memorable presentation. Don’t skip this step. Experts know that no matter how often they talk about a subject, the script keeps them within the allotted time.
Final Steps
The sixth step is to use the storyboard and script to start building your presentation. Once you know what you want to say and have an idea of how the presentation should flow, it’s time to build it. Create the slides and videos and choose the music. Be sure when you select backgrounds that they are visible from a distance. Light backgrounds are sometimes hard to read. The size of your type and type style (font) must be large enough to be seen and simple to read.
Once you have the first draft of your presentation, read or play through it to see how much time it takes. Adjust the number of slides to fit time you have. Most people have too much and have to edit some out. Five to seven minutes can go by fast.
The final step: Once it’s all together, practice, practice, practice. Another saying applies here. It says, “It’s not practice that makes perfect. Perfect practice makes perfect!” Preferably, practice in front of someone. You want to be comfortable with your presentation, and practicing in front of an audience of friends is much better than waiting to present in front of a large group of strangers. Be sure to time yourself. Key Idea: Don’t be an RJ!
USING MULTIMEDIA IN PRESENTATIONS LESSON PLAN WORKSHEETS
The Using Multimedia in Presentations lesson plan includes three worksheets: an activity worksheet, a practice worksheet, and a homework assignment. These worksheets will help students demonstrate what they learned throughout the lesson and reinforce the lesson concepts. The guide on the classroom procedure page outlines when to hand out each worksheet to your students.
STORYBOARD ACTIVITY WORKSHEET
All three worksheets will work together to help students create a multimedia presentation. First, students will choose a subject for their presentation. Then they will fill in the storyboard on the worksheet to plan it out.
MAKING SLIDES PRACTICE WORKSHEET
The practice worksheet will build on the storyboarding from the activity. Using their storyboard outline, students will write a script for their presentations. Each box on the page should correspond to the slide from the storyboard. If students need more slides/boxes, they can create them on an extra sheet of paper.
USING MULTIMEDIA IN PRESENTATIONS HOMEWORK ASSIGNMENT
Finally, students will showcase their work! For the homework, students will create their multimedia presentations. Once complete, they will write how they feel it went in the Reflection section at the bottom of the page.
Worksheet Answer Keys
The “answer key” at the end of the lesson plan is a guide for you to use as you grade your students’ presentations. If you choose to administer the lesson pages to your students via PDF, you will need to save a new file that omits this page. Otherwise, you can simply print out the applicable pages and keep this as reference for yourself when grading assignments.