


Description
What our Time lesson plan includes
Lesson Objectives and Overview: Time develops students’ ability to tell and write time using an analog or digital clock, in hours, half-hours, and to the nearest five minutes. With a hands-on demonstration, students apply their understanding and employ critical thinking skills in the building of a clock display and ordering the displays from earliest to latest. At the end of the lesson, students will be able to tell and write time using an analog or digital clock, in hours, half-hours, and to the nearest five minutes. This lesson is for students in 1st grade and 2nd grade.
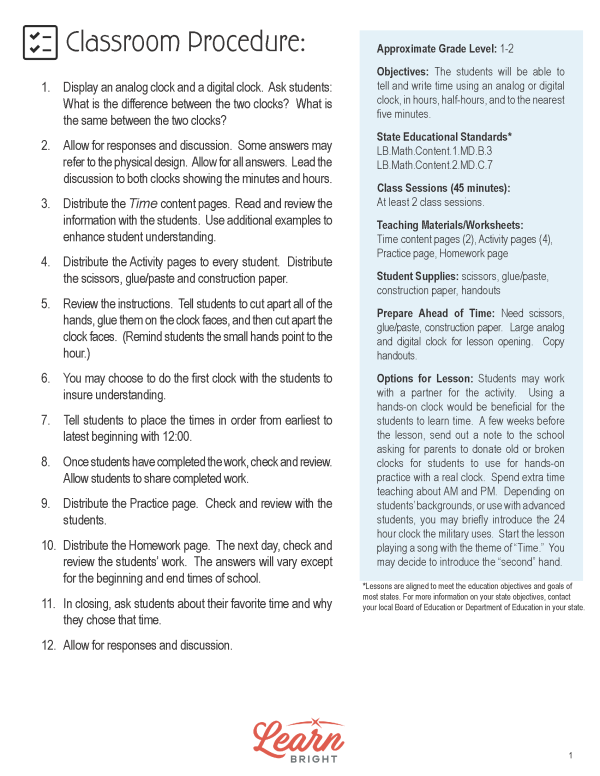
Classroom Procedure
Every lesson plan provides you with a classroom procedure page that outlines a step-by-step guide to follow. You do not have to follow the guide exactly. The guide helps you organize the lesson and details when to hand out worksheets. It also lists information in the blue box that you might find useful. You will find the lesson objectives, state standards, and number of class sessions the lesson should take to complete in this area. In addition, it describes the supplies you will need as well as what and how you need to prepare beforehand.
Options for Lesson
Included with this lesson is an “Options for Lesson” section that lists a number of suggestions for activities to add to the lesson or substitutions for the ones already in the lesson. One suggestion is to use a hands-on clock to help your students to learn time; you could send out a note to the school asking for parents to donate old or broken clocks for students to use for hands-on practice with a real clock. Another optional addition to this lesson is to spend extra time teaching about AM and PM. If you have more advanced students, you can briefly introduce the 24 hour clock the military uses. A fun addition to this lesson is to start the lesson playing a song with the theme of “Time.” Finally, to expand the lesson, you can introduce the “second” hand.
Teacher Notes
The teacher notes page includes a paragraph with additional guidelines and things to think about as you begin to plan your lesson. This page also includes lines that you can use to add your own notes as you’re preparing for this lesson.
TIME LESSON PLAN CONTENT PAGES
Time
The Time lesson plan includes two content pages. Many people go to bed and wake up at the same time each day. When you’re enjoying yourself, time seems like it’s going fast and when you’re not enjoying yourself, time seems to slow down. No matter what, time always keeps moving forward and never stops!
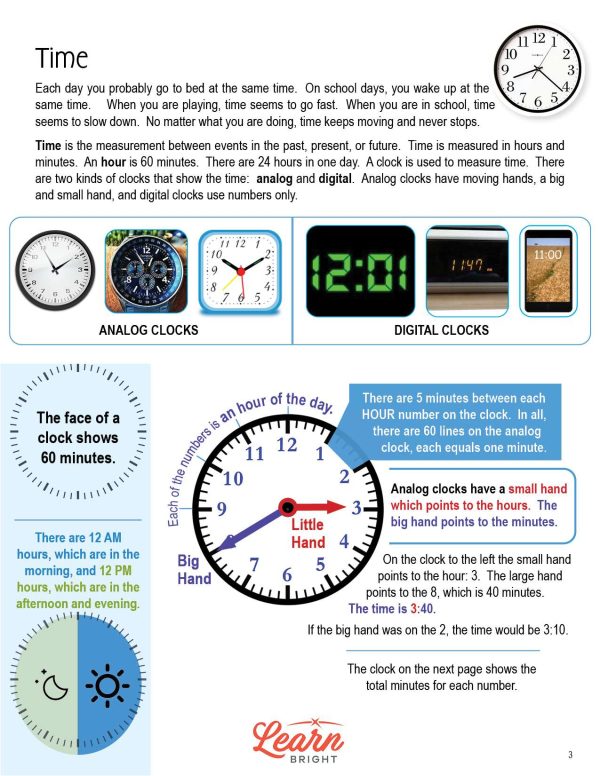
Time is the measurement between events in the past, present, or future. We measure time in hours and minutes. One hour equals 60 minutes and there are 24 hours in one day. We use clocks to measure and determine time. We have two kinds of clocks, analog and digital. Analog clocks have hands that move, while digital clocks only show numbers. When telling time, we have 12 AM hours, which are in the morning, and 12 PM hours, which are in the afternoon and evening.
Let’s talk about how to read and understand an analog clock. The face of an analog clock shows 60 minutes. The numbers on a clock represent an hour of the day. For example, the 1 represents 1:00. There are 5 minutes between each hour number on the clock. This means that a clock has 60 lines, each equaling one minute. The small hand on an analog clock points to the hours, and the big hand points to the minutes.
The lesson includes a drawing of an analog clock, with the small hand pointing to the 3 and the large hand pointing to the 8, which represents 40 minutes. This means that the time shown on this clock is 3:40. If the big hand pointed at the 2, the time would be 3:10.
Each number on an analog clock represents five additional minutes past the hour. Starting at the 1, you can skip count by 5s to find the time. When the big hand of a clock is on the 12, the minutes are 00. A clock with the small hand on the 3 and the large hand on the 12 is showing the time 3:00.
To tell the time using an analog clock, first look at the big hand to determine the minutes. Next, look at the small hand to figure out the hour. When writing the time, the hour comes first, followed by the minutes.
The lesson closes with a few example clocks that you can use to practice telling the time. Try it for yourself!
TIME LESSON PLAN WORKSHEETS
The Time lesson plan includes three worksheets: an activity worksheet, a practice worksheet, and a homework assignment. You can refer to the guide on the classroom procedure page to determine when to hand out each worksheet.
CREATING CLOCKS ACTIVITY WORKSHEET
For the activity worksheet, students will cut out the hands of the clock printed on the worksheet and place them correctly on the clock faces for each of the times listed. They will then cut apart the clocks and place them in time order, beginning with 12:00 and ending with 11:55. Finally, they will glue them to the construction paper.
READING CLOCKS PRACTICE WORKSHEET
The practice worksheet asks students to look at drawings of clocks and write down what time is shown on each. They will also draw the hands on clock faces so that they show specific times.
TIME HOMEWORK ASSIGNMENT
For the homework assignment, students will draw the hands and numbers of the clock showing the time for each event. They will also circle if the time is AM or PM.
Worksheet Answer Keys
This lesson plan includes answer keys for the activity worksheet, the practice worksheet, and the homework assignment. If you choose to administer the lesson pages to your students via PDF, you will need to save a new file that omits these pages. Otherwise, you can simply print out the applicable pages and keep these as reference for yourself when grading assignments.