



Description
What our Rectangle Partition lesson plan includes
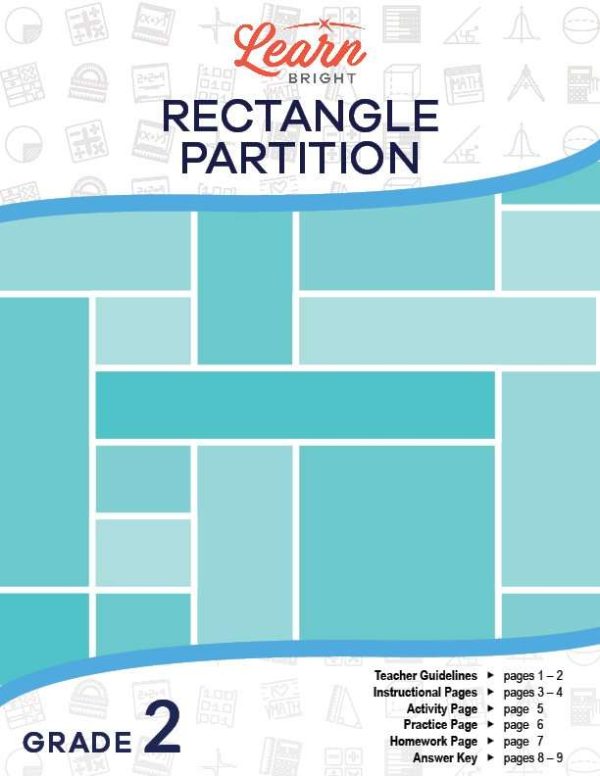
Lesson Objectives and Overview: Rectangle Partition teaches students that rectangles of the same size can be broken up or partitioned. At the end of the lesson, students will be able to partition a rectangle into rows and columns. This lesson is for students in 2nd grade.
Classroom Procedure
Every lesson plan provides you with a classroom procedure page that outlines a step-by-step guide to follow. You do not have to follow the guide exactly. The guide helps you organize the lesson and details when to hand out worksheets. It also lists information in the blue box that you might find useful. You will find the lesson objectives, state standards, and number of class sessions the lesson should take to complete in this area. In addition, it describes the supplies you will need as well as what and how you need to prepare beforehand.
Options for Lesson
Included with this lesson is an “Options for Lesson” section that lists a number of suggestions for activities to add to the lesson or substitutions for the ones already in the lesson. Several of the suggestions relate to the lesson activity. First, you could demonstrate the activity with a single sheet of paper to help students get started. You could have your students fold the pages for the activity and draw the rows and columns on the folded pages. You could also distribute giant pages or sheets of paper to each pair of students to divide into squares, identifying the number of columns, rows, and squares. Finally, to add an interactive element to the lesson, you could have your students use straws, pieces of string, or toothpicks to create rows and columns to divide 3-dimensional objects’ surfaces such as books, desk tops, etc.
Teacher Notes
The teacher notes page includes a paragraph with additional guidelines and things to think about as you begin to plan your lesson. This page also includes lines that you can use to add your own notes as you’re preparing for this lesson.
RECTANGLE PARTITION LESSON PLAN CONTENT PAGES
Partitioning Rectangles
The Rectangle Partition lesson plan includes two content pages. Rectangles are four-sided figures with two equal lengths and two equal widths. They are a plane figures, which means they have two dimensions, length and width, and they’re made of straight lines. Some plane figures, like circles, are made with curves.
Some candy bars are rectangles. If you like share your candy bars with a friend, you can easily break them apart into small pieces. This is called partitioning, or dividing into parts.
You can think of a rectangular candy bar as having rows and columns of candy pieces. The rows are made using a horizontal line, while the columns are made using a vertical line. The lesson includes a chart that shows 3 columns and 4 rows as an example.
You can partition, or divide, rectangles into squares by correctly using rows and columns. Remember that a square has four equal sides. Rectangles can be divided into squares by drawing vertical and horizontal lines while creating rows and columns even though they don’t have four equal sides.
The lesson includes a diagram of a rectangle partitioned into 8 equal squares. Each square has the same length and width. In total, there are 2 rows and 4 columns.
When dividing a rectangle using columns and rows, it’s easy to count the total number of squares by counting the number in each row or column and adding them together. Whether you count rows or columns, the total number will be equal.
For example, the lesson includes a diagram of a rectangle divided into 3 rows and 7 columns. Each column has 3 squares: 3 + 3 + 3 + 3 + 3 + 3 + 3 = 21. There are 21 total squares. Each row has 7 squares: 7 + 7 + 7 = 21. Again, you get a total of 21 squares. When partitioning or dividing rectangles into same-size squares, try using columns and rows!
RECTANGLE PARTITION LESSON PLAN WORKSHEETS
The Rectangle Partition lesson plan includes three worksheets: an activity worksheet, a practice worksheet, and a homework assignment. You can refer to the guide on the classroom procedure page to determine when to hand out each worksheet.
PAPER ACTIVITY WORKSHEET
Students will work with a partner to complete the activity worksheet. Each pair will fold four sheets of paper in different ways to create rows and columns, trying to make squares of equal size. Next, they will draw the rows and columns using the images of the rectangles provided on the worksheet. Finally, they will tell how many columns, rows, and squares there are in each rectangle.
WORD BANK PRACTICE WORKSHEET
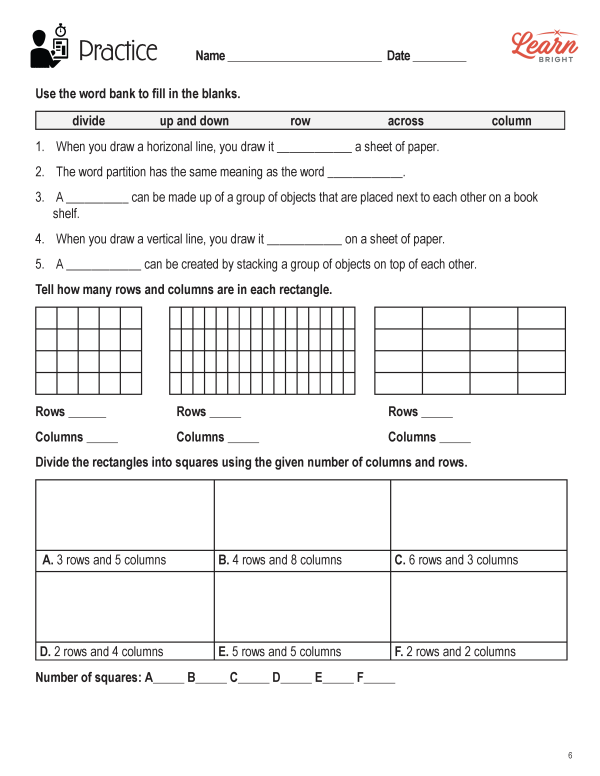
For the practice worksheet, students will first use the provided word bank to fill in the blanks. They will then look at rectangles and determine how many rows and columns are in each. Finally, they will divide rectangles into squares using given number of columns and rows for each.
RECTANGLE PARTITION HOMEWORK ASSIGNMENT
The homework assignment asks students to use three rectangles to create a different number of squares using different numbers of columns and rows for each rectangle. They will also tell the number of squares for each rectangle.
Worksheet Answer Keys
This lesson plan includes answer keys for the practice worksheet and the homework assignment. If you choose to administer the lesson pages to your students via PDF, you will need to save a new file that omits these pages. Otherwise, you can simply print out the applicable pages and keep these as reference for yourself when grading assignments.